Wild About Bows

Published December 6, 2018
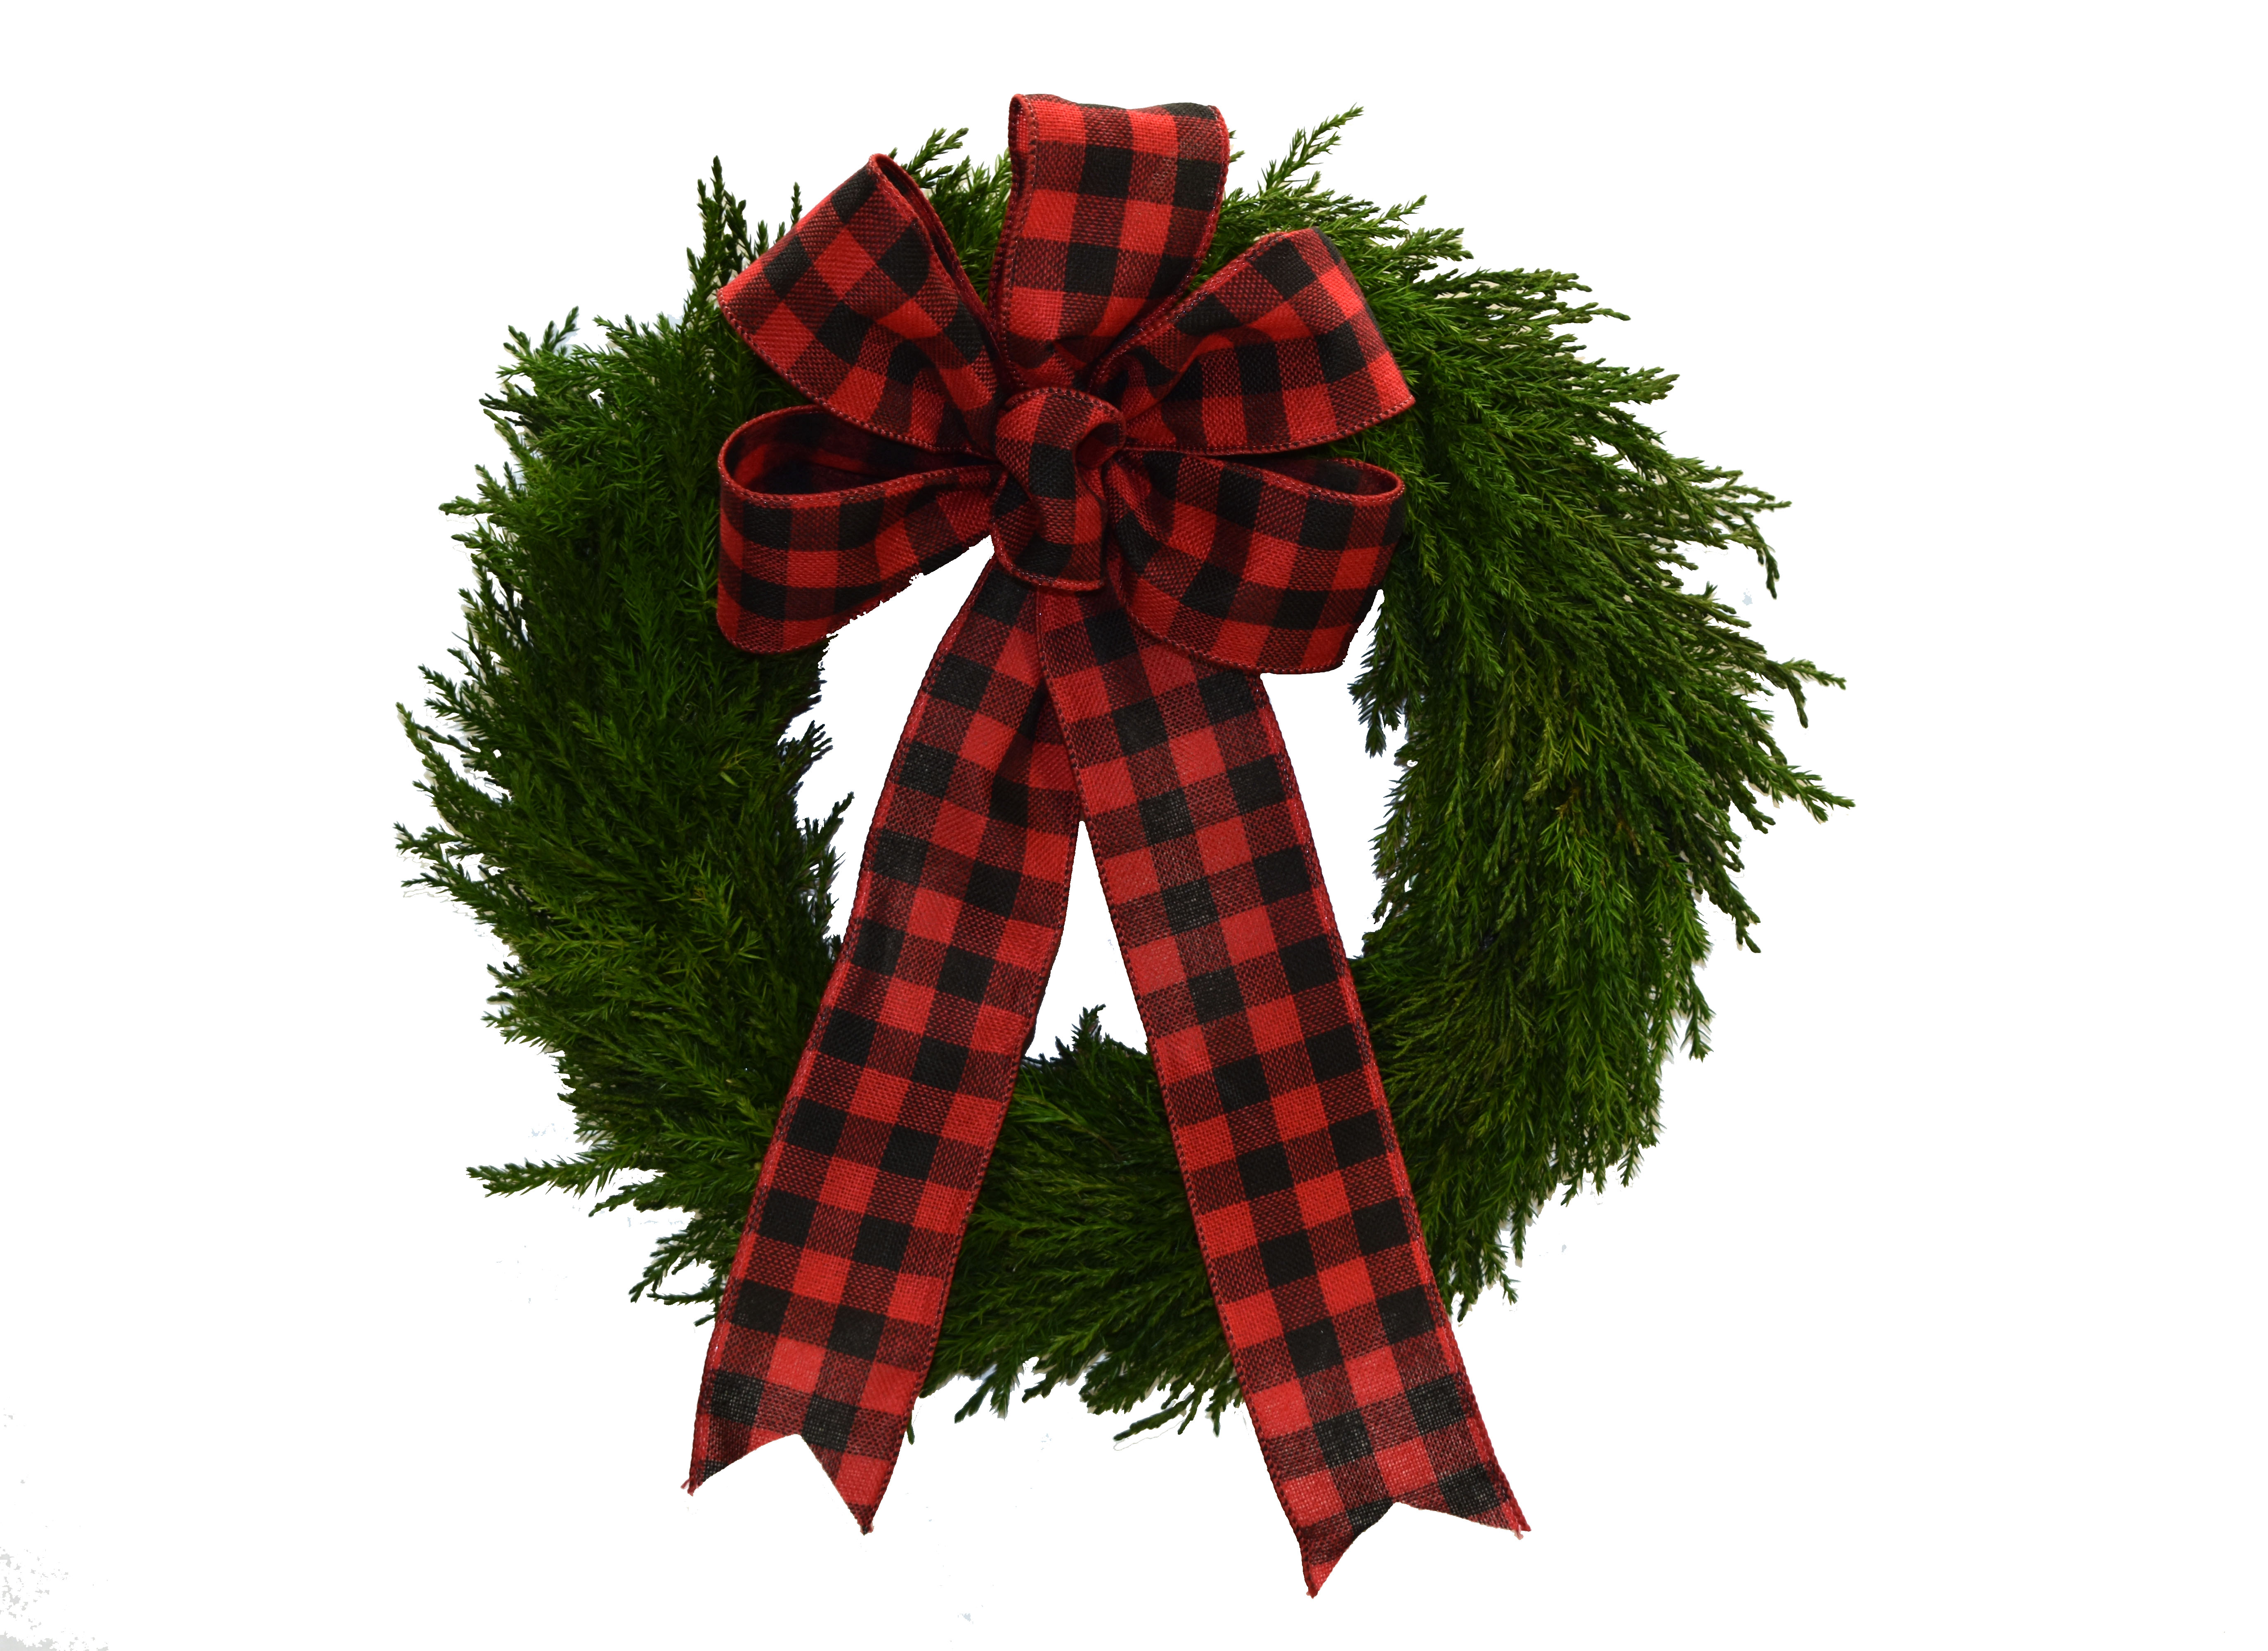
Have you ever wished you could tie a fancy bow like you see in catalogs? Surprisingly there are a lot of factors that go into making the perfect puffed bow. Thankfully here at Mills Floral Company, we have a few bow-tying experts who are sharing their tips and tricks with the Stay Floral community. At the end of this blog watch our how-to video from one of our experts. Check out what we suggest for the perfect bow on your gifts, wreath, and home décor.
1 - Choosing a Ribbon
There are a few factors to consider when choosing a ribbon for your project. Of course, color is a factor but wired & non-wired, double-sided & one-side, as well as texture, are all factors to consider when tying the perfect bow.
Wired vs Non-wired
First, decide if you would like wired ribbon or non-wired ribbon. Wired ribbon will keep the shape of your bow longer than ribbon without wire. Plus having wired ribbon makes forming your bow a lot more organized because it does keep its shape better and you can easily see your next step. Without wire, it is harder to define the loops. You will see how this works better as we go on in this tutorial.
Double-sided vs One-sided
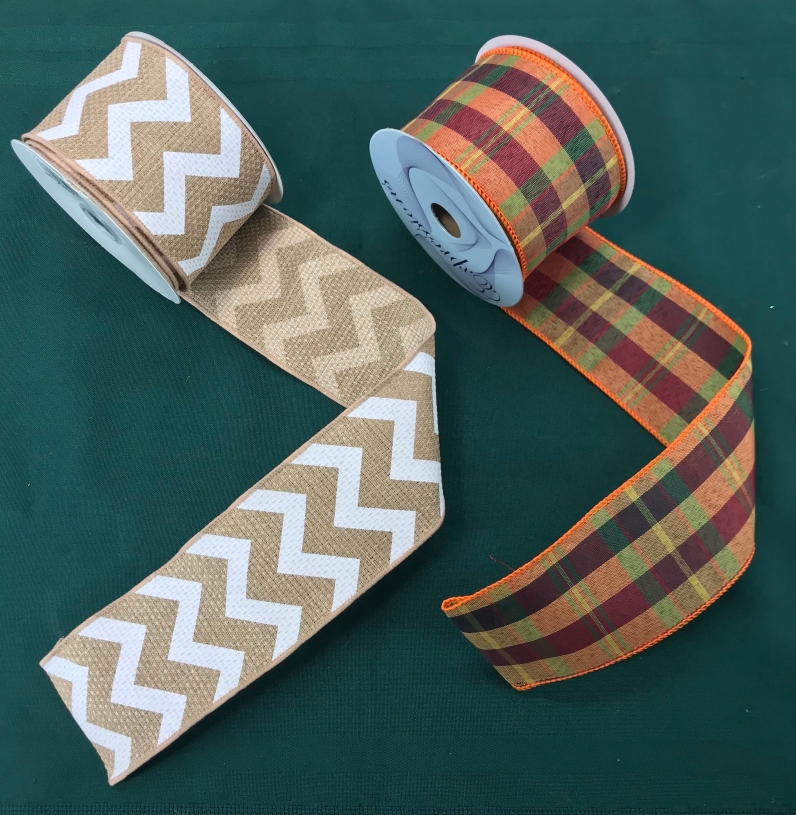
Then you need to decide if you want double-sided ribbon or one-sided. Double-sided meaning the same pattern and texture is on both side. One-sided is pretty self-explanatory, meaning the pattern and texture is only on one side. And yes, texture does matter! It matters because with some fabrics your ribbon can wrinkle after one use of it, while others you can play with until you get it right and no wrinkles. Some fabrics that don't wrinkle are: silk, mesh, satin and shire. Fabrics that DO wrinkle are: velvet and burlap. The thicker the fabric the more it will wrinkle.
2 - Proper tools
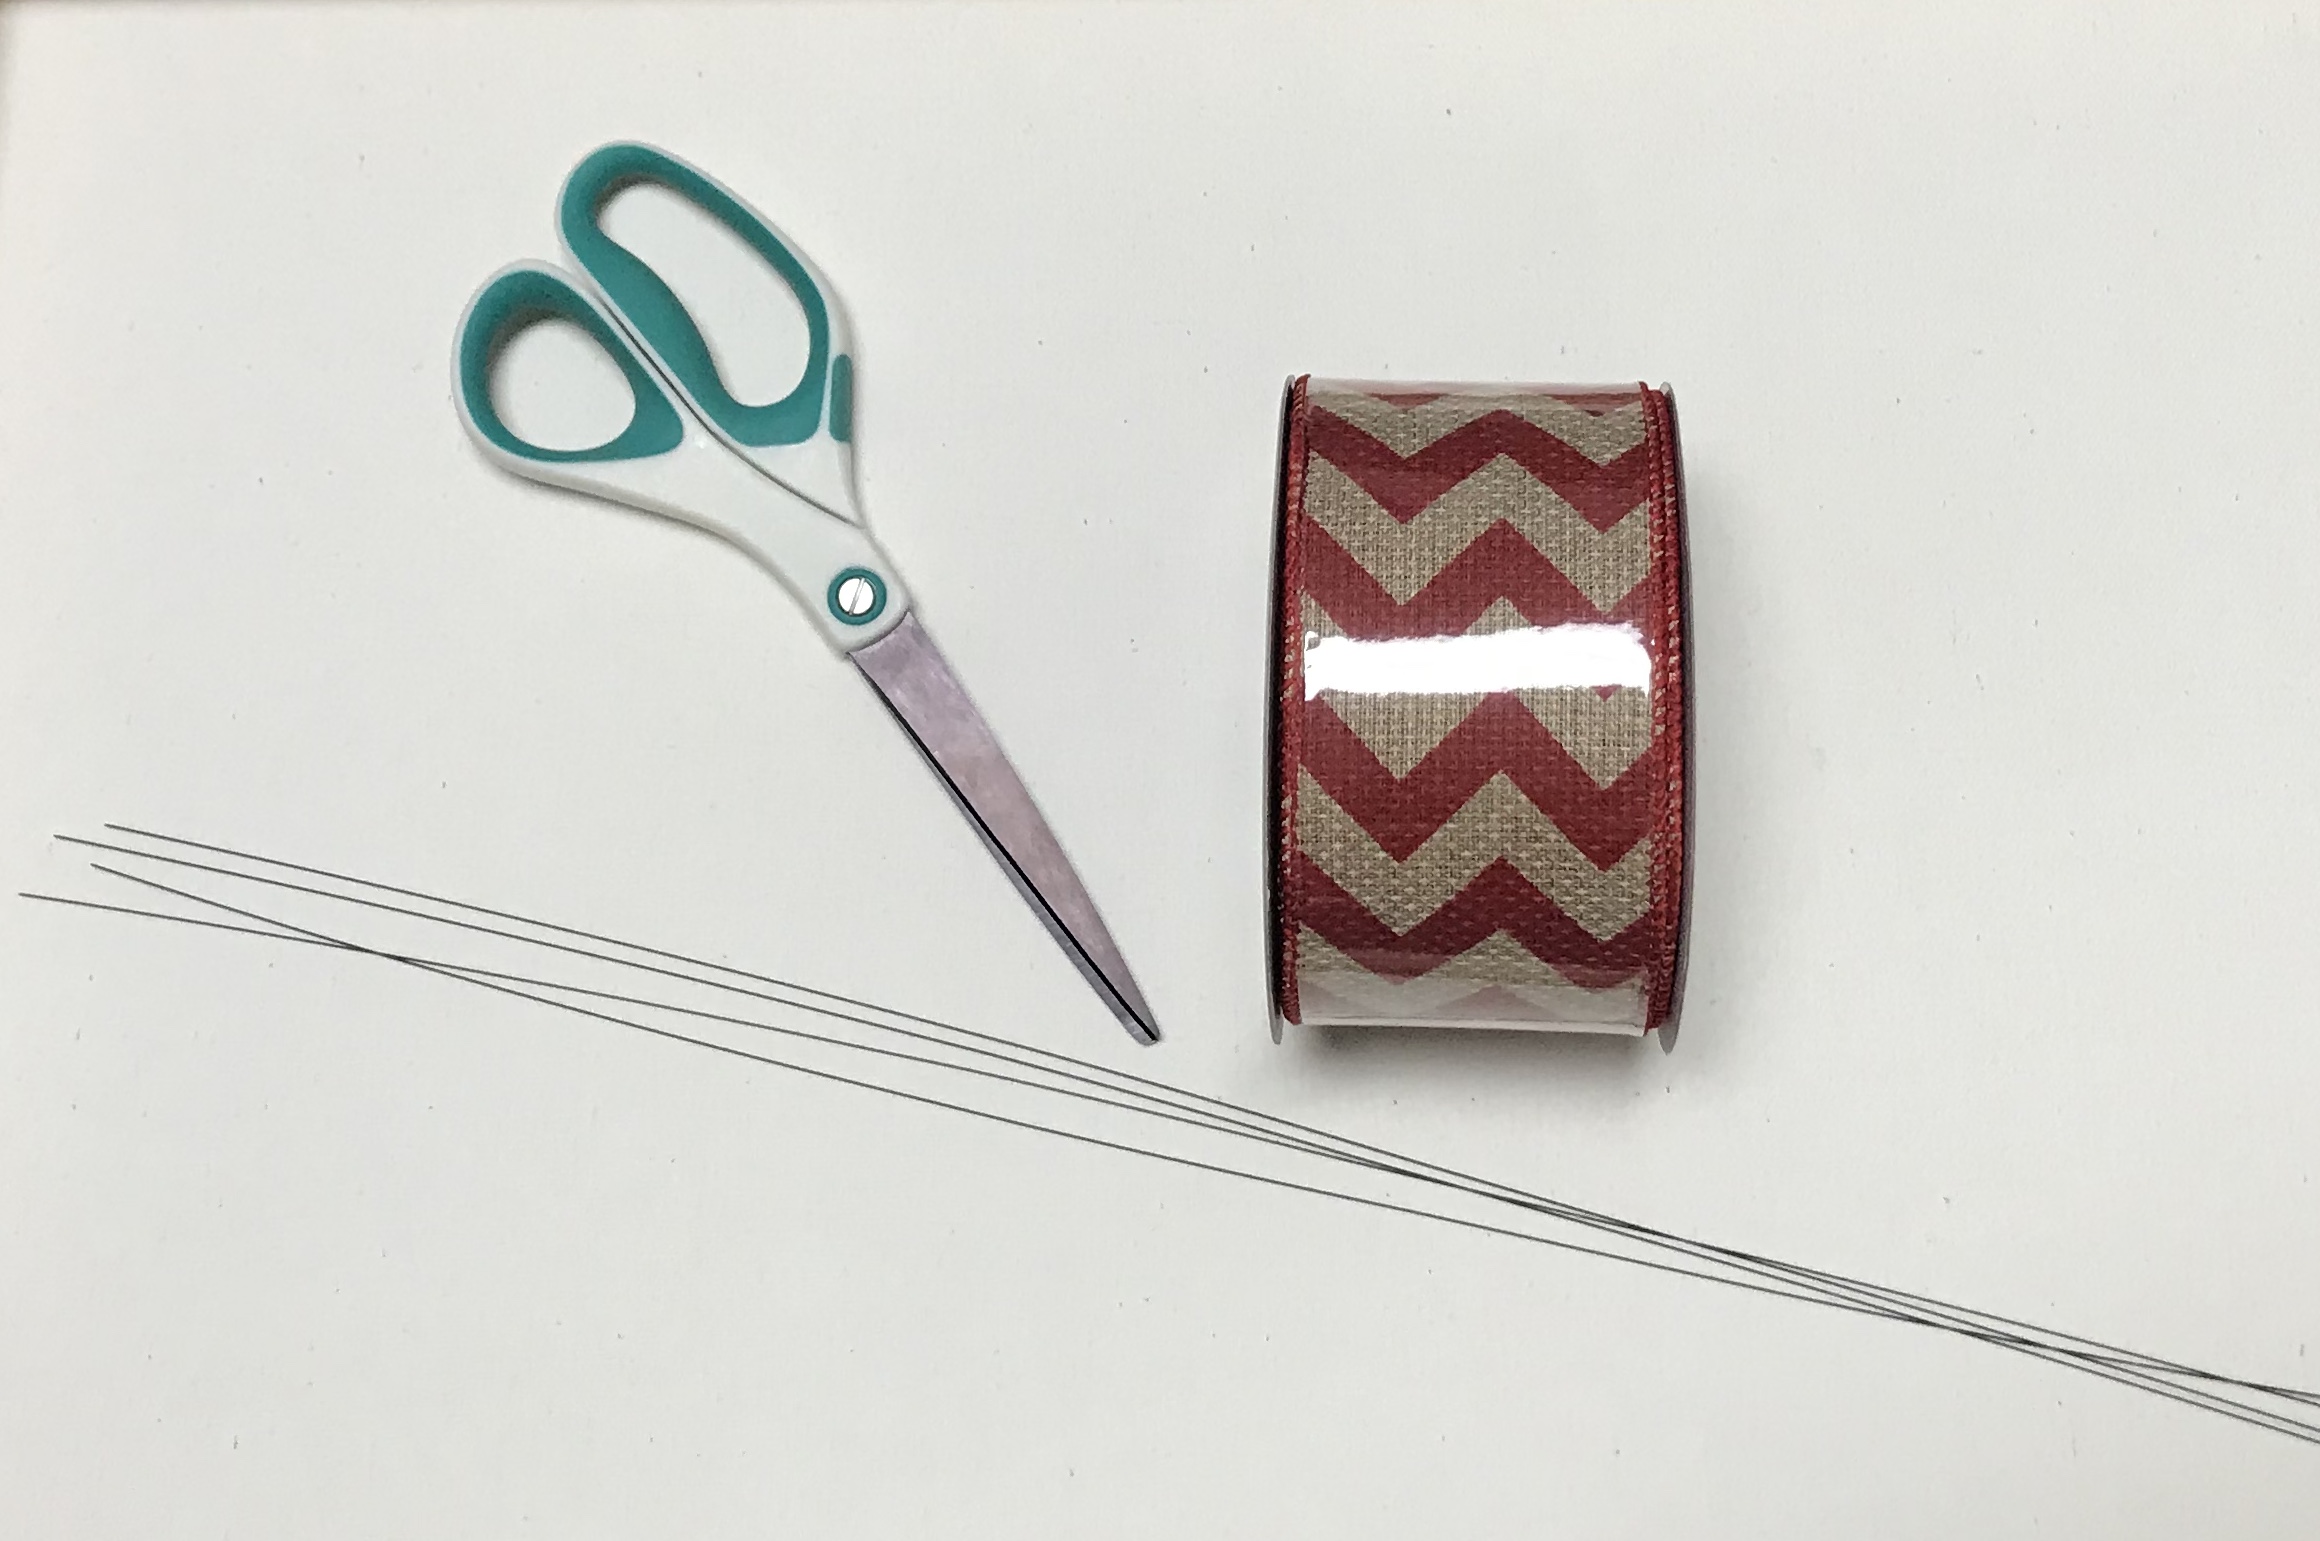
You will need a pair of very sharp scissors. There is nothing worse than putting a kink in a nice ribbon. Also, have on hand thin craft wire, a bread twist tie, or even a pipe cleaner to attach the bow to the wreath or gift once you are finished. And of course your choice of ribbon.
3 - Technique
First, unravel the ribbon from the spool, but do not cut it off yet! Wait until your bow is made before you cut; you don't want it to be too short.
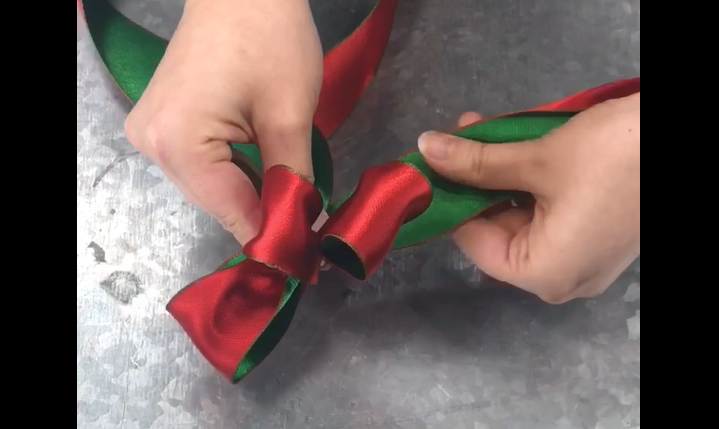
Determine how many loops you want in your bow. From about 12 inches from the tail of the ribbon, make your first loop. Your first loop should be about 3 inches in height.
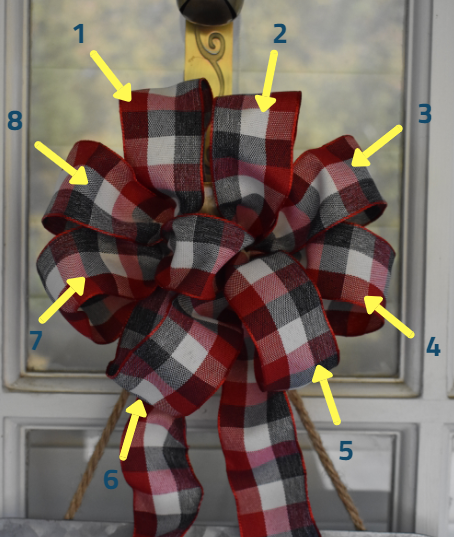
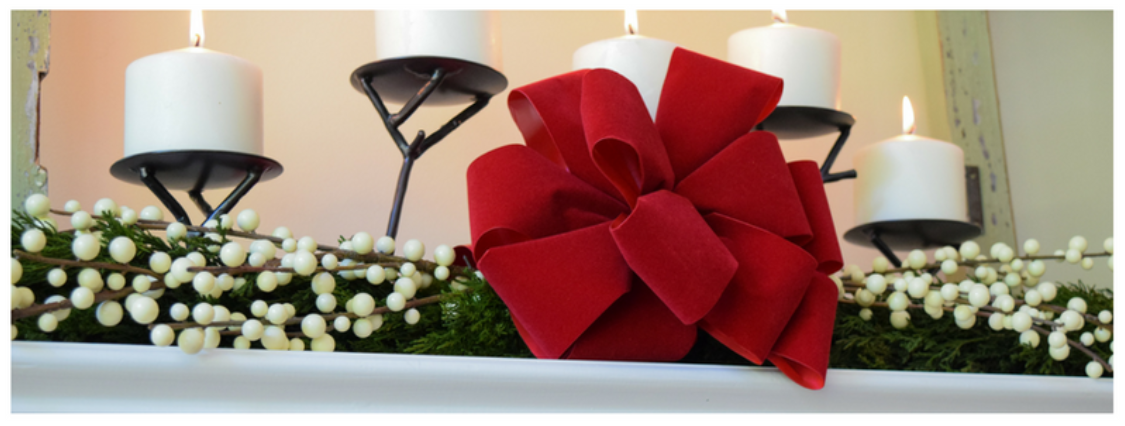
Then pinch together at the bottom of the loop and then twist the loop, this is where the wired ribbon comes in handy. This first loop will be the center of the bow like you see pictured above. Making a bow like the one above really is all about the folding.
Unravel the ribbon more and from the spool end of the ribbon make the next loop. Make another 3 to 3 1/2inch loop and fold the bottom of it under the center loop and pinch this loop in with the center one. The end of this loop will now be on the other side of the center loop.
Tip: If you are using a ribbon that is one-sided make sure as you are making your loops to twist the ribbon back to the top so the pattern will show on the outside of the loop.
This loop and all the loops around the center one should be slightly longer than the center of the bow. Now on the other side make another loop and match it to the loop you just made. Then pinch at the center of the bow to bind all ends of the loops together and twist to bring the ribbon back up top. Keep your thumb and index finger tightly gripping all of the ends of the loops.
Continue this process until you have reached your desired number of loops while making each loop slightly larger than the last. Once you get your bow done, unravel 12 more inches of ribbon from the spool and cut to make the other tail.
Now take your craft wire, pipe cleaner or bread tie and put it through the center loop and pull the wire down underneath all of your pinches and twist to lock all of your work in. Use can use the ends of the wire to attach the ribbon to your wreath or gift. Then fluffy your bow and cut your tails. It may take some time to get your bow to look just right, but keep stretching and pulling your loops to make a well-rounded bow.
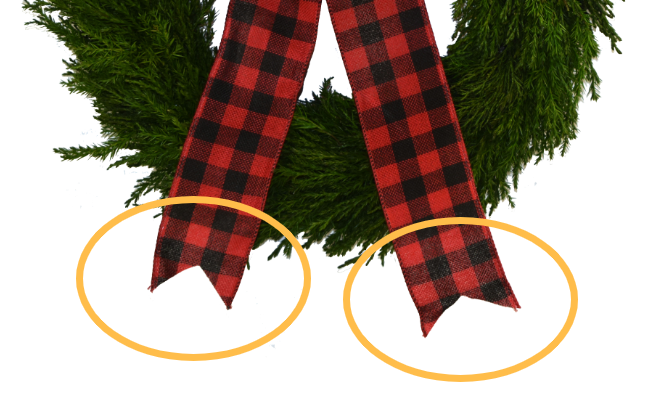
A classic tail look is the “fishtail”. To make this tail, fold the ends of the tail in half and cut at an angle.
And you are done!!
Now you're all set! Your presents and wreaths will have an elegant, professional look to them.
We want to see how your bows turn out! Try out our technique and send us your bow photos. You could be featured in our next blog post. Don't forget to check out our how-to video below for more bow-tying tips.
Wishing you and your family a safe and happy holiday season!
How to Tie a Bow
Click Photo To Watch
Please follow us on social media!
![]()

![]()